

How To Program Overhead Door™ Remote and Garage Door Openers
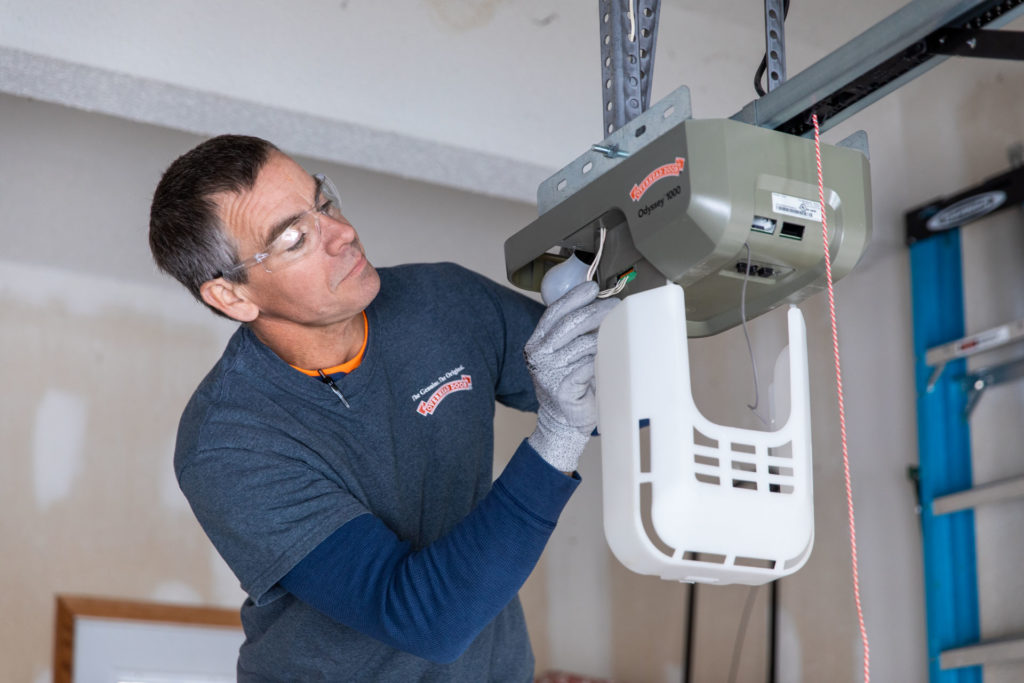
Odyssey® 1000 Model 7030
Learn how to program the Overhead Door® Odyssey® 1000 Model 7030 garage door opener.
To program the Code Dogger two remote, first press and hold the program set button. Then press the program set button again to select the remote program menu. Press and release your desired remote button, press and release the remote button again and finally press and release the remote button the final time to operate the door. The remote is now programmed
To program a code dodger one remote you must have a code dodger two remote available and already programmed. To begin programming the code dodger one remote first press and hold the program set button then press the program set button again to select the remote program menu. Press and release the already program button on the code dodger 2 remote. Then press and release the desired button on the code dodger 1 remote. Press and release the button again and finally press and release the button to operate the door. The remote is now programmed
To program a Code Dodger two wireless keypad, first set the pin. To begin press and hold the program button and be up/down arrow buttons until the lights go out. then press three five seven program. Enter the pin and press the program button and wait for the lights to turn off, the pin is now set. Next, on the power head press and hold program set to enter the programming menu. Then press the program set button again to enter the remote program menu. On the wireless keypad enter your pin number and press the up down arrow button once. Then press the up down arrow button again. Then press again to operate the unit. The wireless keypad is now programmed
Odyssey® And Destiny® – Program Speed
Learn how to change the speed on the new Overhead Door® Odyssey® and Destiny® garage door opener.
There are three speed settings for both the open and closed directions for these openers. The factory setting for the speeds is the maximum speed for both open and closed. Start by entering the main menu
press and hold the square button until you see the long and short blue LED release and you will see the short blue LED only. Press the up arrow with the plus sign two times and the long and short blue LED will appear press the square button to enter the speed programming menu you will see the short blue LED flash three times then show the current speed setting for the up travel or open speed. The current speed for this unit is the maximum which is shown by the solid red long and short LEDs. The Odyssey and destiny units can be set to three levels of speed for both open and closed.
These are:
- maximum speed – solid red long and short
- medium speed – solid purple long and short
- slow speed – solid blue long and short
Now press the down arrow one time and you will see the speed setting change from red LEDs maximum speed to purple LEDs medium speed. Press the down arrow one more time and you will see the speed setting change from purple LEDs medium speed to blue LEDs slow speed. Now we will press the up arrow one time and move the open speed to medium setting the purple LED appears. We will press the square button to confirm that we want medium for the open speed. You will see confirmation of the long LED flash blue three times. The close or down speed level will be shown which is maximum speed both long and short red LEDs. Now press the down arrow or minus key one time and this changes the close or down speed to purple LEDs for medium speed. You can continue to press the down arrow to slow speed which is blue or the up arrow button one time to take this back to maximum close speed red LED. We will press the square button to confirm that we want medium speed. Both LEDs will flash blue to confirm it is set. Now both the open speed and close speed has been changed to medium. When changing the speed during installation please press the remote or wall console and visually confirm this is the desired speed. You have now completed changing the speed for both open and close.
Odyssey® And Destiny® – Program A CodeDodger® 1 Remote
Learn how to program the new Overhead Door® Odyssey® and Destiny® garage door openers to a CodeDodger® 1 Remote.
Please be sure that your Odyssey or Destiny opener is installed, limits are set, force profile has been set and you have programmed one button on the new remote to the power head. Start by entering the main menu, press and hold the square button until you see the long and short blue LED release and you will see the short blue LED only. Now to enter the programming menu press and release the square button. You should see the short blue LED turn to a long purple LED. Pick up the remote for your Odyssey or Destiny unit and press the button that you have already programmed to the power head this opens the window to allow programming a CodeDodger 1 remote to your Odyssey or Destiny opener. You should see the LED lights on the power head turn to a flashing long and short purple. Now we need to finish the connection to the CodeDodger 1 remote. Press the button on the CodeDodger 1 remote that you wish to program to the Odyssey or Destiny power head. You will see the LED lights on the power head change from a flashing long and short purple to a solid long and short purple. Now press and release the button on the CodeDodger 1 remote one more time. You will see the LED change from solid long and short purple to salted long and short blue this confirms the connection between the CodeDodger 1 remote to the power head by pressing the button on the CodDodger 1 remote one more time. You will see the Odyssey or Destiny opener start to move. Congratulations you’ve completed the programming of a CodeDodger 1 remote to the Odyssey Destiny opener
Odyssey® And Destiny® – Program A Wireless Keypad
Learn how to program the new Overhead Door® Odyssey® and Destiny® garage door openers to a CodeDodger® 1 Wireless Keypad.
We first start with the CodeDodger one wireless keypad. Press and hold the program key, the number-6 key, and the up/down arrow key in order. When all of the lights go out on the keypad release all three buttons. Next, in order, press and release each button.
- The three
- The five
- The seven
- The program buttons on the wireless keypad
Now you should see the LED flashing at a rate of one flash per second. Now enter your pin that you determined. Your pin should be between three to eight digits. Then press the program button. You should see the red LED flash two times then go out as confirmation. Now we will program the wireless keypad to the power head. Move to the power head start by entering the main menu. Press and hold the square button until you see the long and short blue LED. Release and you will see the short blue LED only
Now to enter the programming menu press and release the square button you should see the short blue LED turn to a long purple LED pick up the remote for your Odyssey or Destiny unit and press the button that you have already programmed to the power head. You should see the LED lights on the power head turn to a flashing long and short purple.
Now we need to finish the connection the CodeDodger one wireless keypad to the power head.
Enter the pin that you have selected. Then press the up down arrow button. You will see the LED lights on the powerhead change from a flashing long and short purple to a solid long and short purple. Now press and release the up/down arrow key one more time. You will see the LED change from solid long and short purple to solid long and short blue. This confirms the connection between the CodeDodger one wireless keypad to the powerhead. By pressing the up/down arrow one more time you will see the Odyssey or Destiny opener start to move. Congratulations you have completed the programming of a CodeDodger one wireless keypad to the Odyssey Destiny opener
Odyssey® And Destiny® – Program To HomeLink®
Learn how to program HomeLink® to the Odyssey® and Destiny® garage door openers.
Please be sure that your Odyssey or Destiny opener is installed, limits are set, force profile has been set and you have programmed one button on the new remote to the power head.
Please refer to the owner’s manual for your vehicle for the specific instruction on programming home
link to the garage door opener. You can also visit the home link website www.homelink.com and download the specific instructions for your vehicle.
- Now we first need to program one of the buttons on the remote into CodeDodger one mode press and hold one of the unused buttons for 10 seconds. You will see the LED change from green to green and red
Once you see green and red release the button and now press the same button two times to confirm the
change to CodeDodger 1. You should now see the LED being red when activated. Now refer to your home link instructions for first time training.
Press and hold the two outer home link buttons releasing only when the home link indicator light begins to flash, usually within 20 seconds. This clears the home link memory and is now ready for programming. You do not perform this step when training the additional home link buttons to other garage door openers or other home link devices. - Press the appropriate home link button 1 2 or 3 which you want to train and keep holding it until the indicator light starts flashing slowly. Once the indicator light starts flashing slowly, release the button. Homelink is now in training mode. You will now have five minutes to train your remote to the home link transmitter in the bumper.
- For most vehicles you’ll be programming the remote to home link inside the vehicle. Please refer to the instructions in the owners manual or downloaded from www.homelink.com for this vehicle. The instructions located in the transmitter unit to be trained near the right headlight. Stand in front of your vehicle with the original remote for the garage door opener you wish to train.
- Hold the original remote between 3 to 5 inches from the location of the transmitter, in this case, the right headlight.
- Now press and hold the button on your original remote that is programmed to CodeDodger one while keeping your hazard warning lights in view. For this vehicle the hazard warning lights will blink 3 times to indicate that the training has been successful. If the training time exceeds five minutes the cars hazard warning lights will blink once and you will need to repeat steps two through five.
- Return to the car and press and hold the train home link button and observe the indicator light the indicator light will blink rapidly for two seconds and then turn to a solid continuous light.
- Move to the garage door opener power head and find the programming buttons
- Start by entering the main menu. Press and hold the square button until you see the long and short blue LED release and you will see the short blue LED only. To enter the programming menu press and release the square button you should see the short blue LED turn to a long purple LED. Pick up the remote for your Odyssey or Destiny unit and press the button that you have already programmed to the power head you should see the LED lights on the power head turn to a flashing long and short purple.
- Return to the vehicle and firmly press and hold the trained home link button for 2 seconds and release. Repeat the press hold release sequence for 2 seconds again, the third press hold release sequence will activate the garage door opener.
Congratulations you have completed the programming of home link to your new Overhead Door™ Odyssey and Destiny garage door opener